
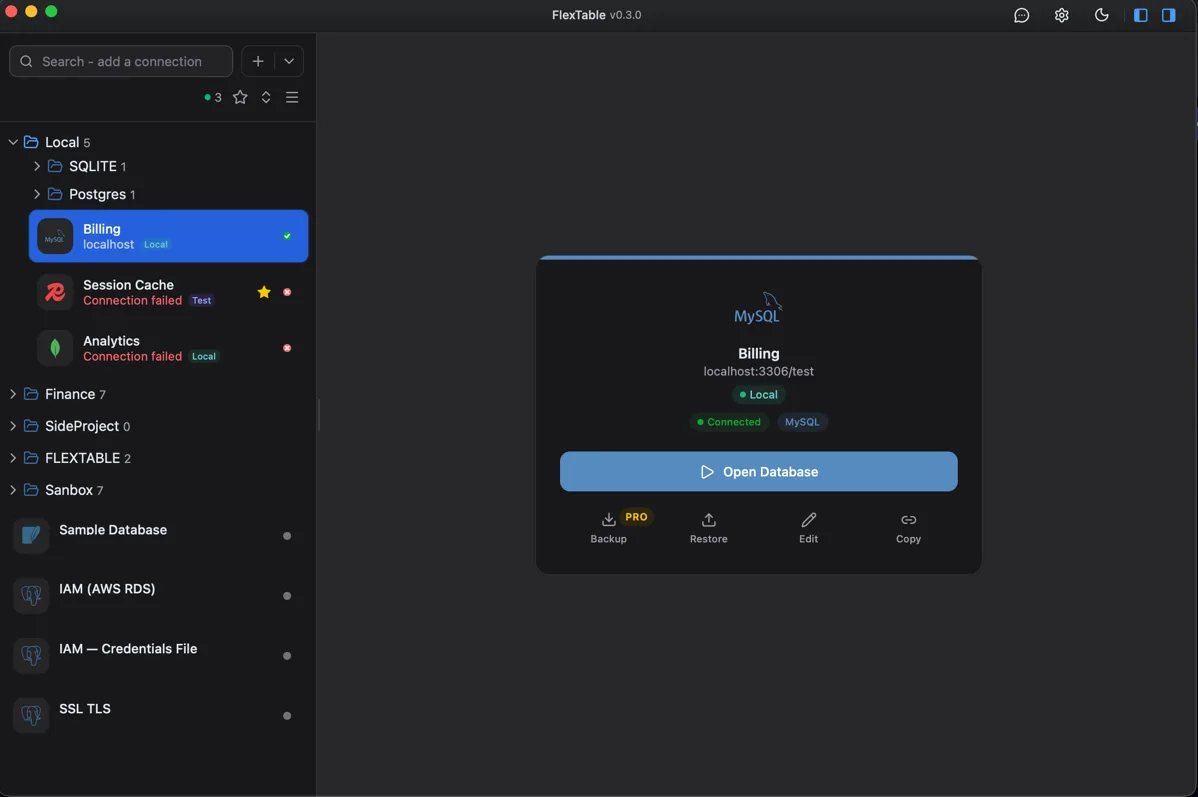
Securing your database connection: TLS, SSH tunnels, and IAM, from the ground up
Open a database client, type a host and a password, click connect. In that one action you are trusting the network between you and the server, the server's claim about who it is, and the tool on your own machine that holds the password afterward. Each of those is a place data leaks.
Most guides list the settings. This one explains how each protection works underneath, then what it defends against and when to reach for it. Once you see the mechanism, the settings stop being magic words and start being choices you can reason about. The controls are the same across every client; I use FlexTable, the one I work on, for the concrete option names.
What you are defending against
A database connection is a TCP conversation carrying two valuable things: your credentials, and the query results. Three different attackers want them, and they are not stopped by the same control.
The first is passive: someone who can see the traffic go by. Shared office wifi, a mirrored switch port, another tenant on the same cloud network, an ISP. They read whatever crosses the wire but do not alter it.
The second is active: someone on the path who can answer for the server, a man in the middle. They pretend to be the database, relay your conversation to the real server, and read everything in between. A passive defense does nothing against them.
The third never touches the network. They get access to your laptop, or a backup of it, or a folder that synced to the wrong cloud, and they read the password your client saved.
Encryption stops the first. Identity verification stops the second. How the client stores secrets decides the third. You need all three, and the common mistake is turning on encryption and assuming it covered the other two.
The rest of this piece is six layers, built from the inside out. Layer 1 encrypts the traffic. Layer 2 verifies who is on the other end. Layer 3 hides the database from the internet. Layer 4 replaces the stored password with a short-lived token. Layer 5 protects the secrets your client keeps on disk. Layer 6 is about what the client itself sends out. Each one starts with how it works, then what it stops and when to use it. You will not need every layer on every connection, and the last section works through three real ones to show which layers each deserves.
The one idea under most of this: symmetric and asymmetric keys
Almost every layer below is built from two kinds of cryptography, so it is worth thirty seconds on the principle before the settings.
Symmetric encryption uses one shared key to both scramble and unscramble data. It is fast, which is why the actual traffic is protected this way. The problem is getting that shared key to both sides without an eavesdropper catching it as it crosses the wire.
Asymmetric encryption solves that. Each side has a key pair: a private key it never reveals, and a public key it can hand to anyone. The two are mathematically linked so that what one locks, only the other unlocks. A simple picture: the public key is an open padlock you make copies of and give away, and the private key is the only key that opens it. Anyone can snap your padlock shut on a box and send it to you, but only you can open it, and no amount of studying the padlock reveals the key. Two properties fall out of this, and they power everything that follows. First, two parties can each mix their own private key with the other's public key and independently arrive at the same shared secret, without that secret ever being transmitted, so an eavesdropper who saw the whole exchange still cannot compute it. Second, a message transformed with a private key can be checked by anyone holding the public key, which proves it came from the holder of the private key. The first property is how a connection agrees on a session key in the open. The second is how identity gets proven. Hold onto both.
Layer 1: encrypting the traffic (TLS)
One naming note before the mechanism: TLS and SSL are the same thing. SSL is the old name, TLS is the current one, and tools still label the setting "SSL" out of habit, so when a connection form says SSL mode it means TLS.
How it works. When a TLS connection opens, the two sides run a handshake. Using the asymmetric trick above, they agree on a fresh symmetric session key over the open network without ever sending it, then switch to that fast symmetric key for the rest of the conversation. From that point every byte is ciphertext. A passive attacker capturing the whole stream sees the handshake and the encrypted data but cannot derive the session key from it, so the capture is noise to them. That is the entire basis of "the traffic is encrypted," and notice what it does not include: nothing so far has proven who is on the other end of the handshake. You agreed on a secret key with someone. Encryption alone does not say who.
That gap is why TLS has levels, not one on-off switch. Postgres names them precisely and most tools follow the same ladder; FlexTable exposes one SslMode setting that maps onto each engine. Each rung adds one more check, and the right rung is the lowest one that covers the attackers your connection actually faces.
disable: no encryption. Plaintext on the wire. Correct in exactly one case: when there is no network path to attack. A Postgres in the same Docker network as your app, or reached over a local Unix socket, has no wire to tap, so encryption adds handshake cost and buys nothing. Use it for genuinely local development and nowhere traffic crosses a machine boundary.
prefer: encrypt if the server offers it, fall back to plaintext if not. This is the default in many clients, FlexTable included, and it is a convenience default. Because the fallback is silent, a man in the middle who wants to read your traffic just declines the encryption offer and you drop to plaintext with no warning. Treat prefer as "not yet decided," not as a level you choose on purpose for anything that matters.
require: encryption mandatory, certificate not checked. The connection refuses to run in plaintext, which completely stops the passive attacker: the sniffer on shared wifi sees ciphertext. It does nothing about the active one, because "not checked" means the session key got negotiated with whoever answered, forged certificate and all. So require fits when your threat is eavesdropping but not interception: traffic inside a private network segment you already trust and want encrypted as defense in depth. The moment it crosses something you do not control, require is not enough, and it is the rung people wrongly stop at because the connection is encrypted and therefore feels safe.
Layer 2: proving the server is the server (certificates)
How it works. This is the second asymmetric property in action. A certificate is the server's public key bundled with its identity (its hostname), and that bundle is signed by a Certificate Authority using the CA's own private key. Your machine already holds the public keys of the CAs it trusts, so it can check that signature: if it verifies, a CA you trust has vouched that this public key belongs to this hostname. Then, during the handshake, the server proves it actually holds the private key that matches the public key in the certificate, by doing something only that private key can do. This is the part that defeats a man in the middle. An attacker can copy a server's certificate freely, because it is public, but copying it is useless without the matching private key, and that key never leaves the real server. So identity here means one thing: possession of the private key, vouched for by a CA's signature.
The two verifying rungs of the ladder check different parts of this.
verify-ca: encryption plus checking the certificate chains to a CA you trust. Now a self-signed certificate from a man in the middle is rejected, because it does not chain to a trusted authority. The subtle gap: the CA signature attests that some trusted CA issued this certificate, not that it was issued for the host you dialed. If your trust store contains a broad public CA, an attacker holding a legitimate certificate for some other name signed by that same CA passes the chain check. So verify-ca is genuinely safe in one shape, a private CA that only ever signs certificates for your own databases, where "chains to my CA" and "is really my server" mean the same thing. With public CAs in the store, the hostname hole is open.
verify-full: everything in verify-ca, plus the certificate's hostname must match the server you meant to reach. This closes the hole, because now the attacker's valid-but-wrong-name certificate fails the name check. verify-full is the rung that actually stops a MITM, and it is the one for anything crossing a network you do not own, which in practice means the public internet. MySQL and MariaDB end the same ladder at VERIFY_IDENTITY. SQL Server exposes fewer rungs. Redis is not a ladder, just TLS on or off with a switch to skip verification.
Supplying the trust, and going both ways. verify-full only works if your machine can trace the server's certificate to a CA it trusts. A managed cloud database usually presents a public-CA certificate that already chains, so it just works. A database with a private-CA or self-signed certificate does not, and the tempting wrong fix is to drop back to require, reopening the MITM hole. The right fix is to hand the client the CA certificate, the ca_cert field, a PEM file for the authority that signed the server's certificate, so verify-ca and verify-full have something to check against. The stronger version runs the same proof in reverse: in mutual TLS the client also presents a certificate and proves it holds the matching private key, so the server authenticates you by key possession instead of a shared password. That is the client_cert and client_key pair. FlexTable supports it for every SSL engine except Redis, and the use-case is environments that require certificate-based client identity, such as tighter enterprise networks and some cloud providers.
The one-line version of layers 1 and 2: disable for local only, require when you trust the network and only fear eavesdropping, verify-ca only with a private CA, verify-full for everything over the open internet. And since the default is usually prefer, strict verification is something you switch on deliberately.
Layer 3: not exposing the database at all (SSH tunnels)
How it works. An SSH tunnel is the same cryptographic pattern as TLS, put to a different use. Your client makes an SSH connection to a bastion host, and SSH runs its own handshake to establish an encrypted channel over the asymmetric-then-symmetric method from earlier. Then it does port forwarding: your client opens a port on your own machine, anything sent to that port is encrypted and pushed through the SSH channel to the bastion, and the bastion opens an ordinary TCP connection from itself to the database and relays the bytes. The result is that the database only ever sees a local connection from the bastion on its private network, and the internet only ever sees SSH traffic. The database's own port is never exposed, so the internet-wide scanners that find and hammer any public database port have nothing to find. The safest port is the one that is closed.
Host keys, and the mistake that voids the whole thing. The bastion has its own key pair, and on connect it proves it holds the private key, exactly as a TLS server does, but without a CA. Instead, the first time you connect, your machine records the bastion's public key in known_hosts. On every later connection it checks the presented key against that record. Match, connect. Changed, refuse, because a changed host key means either the server was rebuilt or someone is impersonating it to sit in the middle of your tunnel. A client that silently accepts any host key has thrown away this check and handed back the man in the middle you closed one layer down, which is why a tunnel with blind host-key acceptance is theater. FlexTable checks known_hosts, refuses a changed key, and prompts on first sight of an unknown host rather than accepting it silently. It authenticates you to the bastion with an SSH agent, a private key with an optional passphrase, or a password, and keys beat passwords here for the same reasons they do for shell access. The use-case is broad: any production database that should not be internet-facing, which is most of them, and it stacks on top of TLS, which still applies inside the tunnel.
Layer 4: removing the stored password entirely (IAM auth)
How it works. A long-lived database password has to be stored somewhere to be used, and anything stored can leak. IAM authentication removes the stored password by replacing it with a proof that is recomputed every time and expires fast. With AWS RDS, the client builds a request and signs it with a key derived from your AWS secret, using HMAC, a keyed one-way function. The signature is computed over the request contents plus a timestamp. AWS can recompute the same HMAC on its side because it also knows your secret, and it checks that the signatures match. The point is that your secret is never transmitted; what goes on the wire is a signature that proves you hold the secret without revealing it, and because the timestamp is baked into the signature, the resulting token is only valid for a short window. On RDS that window is fifteen minutes, and the client generates a fresh token on every connect.
So there is no standing database password to copy, paste into a second tool, or find in an old backup. Access is decided by IAM policy, which means one place to grant it, one place to revoke it, and an entry in your cloud audit log whenever it is used, which a shared password can never give you. FlexTable does this for PostgreSQL, MySQL, and MariaDB on RDS, signing the token per connection and never storing it. The costs are that it ties the database to a cloud identity system, the fifteen-minute lifetime means periodic regeneration, and it only exists for managed databases that support it. The use-case is a team already governing access through IAM that wants database access to work the same way. It complements the other layers; you still want TLS and often a tunnel.
Layer 5: protecting the credentials on your own machine
How it works. Everything above is about the network. This layer is about the client itself, because the tool that connects for you also stores the way back in, and if those stored secrets are readable, none of the transit security mattered. A client that saves connection secrets should encrypt them at rest, which here means symmetric encryption: FlexTable encrypts every secret it stores (passwords, tokens, private keys, SSH passphrases, cloud keys) with AES-256-GCM. The GCM part matters beyond scrambling: it attaches an authentication tag, so if anyone tampers with the stored ciphertext the decryption fails loudly instead of returning garbage, and a fresh random nonce per encryption means the same password does not produce the same ciphertext twice.
But symmetric encryption only moves the problem, it does not dissolve it. To decrypt the secrets on demand, the client needs the key, so now the security of every stored secret reduces to the security of that one key, and where it lives is the whole question. Sometimes a key like this is derived from a master password you type, using a deliberately slow function so it cannot be brute-forced quickly; the trade is that you re-enter the password to unlock. FlexTable instead generates a random 256-bit key on first run and keeps it in the app's data directory as a file with owner-only permissions, so the app can decrypt without prompting you each time.
What that actually buys, honestly. Because the key is a file your own account can read, the design defends against a specific set of attackers and not another. It defends against a secrets file that syncs to the wrong cloud folder, a stray backup, or a different user account on the same machine, because none of those can read your owner-only key. It does not defend against an attacker already running as you on your unlocked machine, because they can read the key file exactly as the app does. That is a deliberate trade for not typing a master password on every launch, and other tools trade differently, some putting the key in the OS keychain, some gating everything behind a master password. FlexTable does neither today and leans on filesystem permissions plus your disk encryption. Neither approach is simply the right one; what matters is knowing which one your tool makes. The practical follow-through does not depend on the tool: turn on full-disk encryption, because it is what stands behind the file permissions when a laptop is lost or a disk is imaged, lock your screen, and prefer the layers that avoid a stored password at all, an agent, a key with a passphrase, a fifteen-minute token.
Layer 6: knowing what the client sends out
One last piece has nothing to do with the database server: the client is a program making its own network calls, and you should know what they are. A client that phones home with usage analytics is sending metadata about your work somewhere, and the careless designs have leaked query text into crash reports. The mechanism to worry about is simple, an outbound request you did not initiate, so the thing to establish is which ones a tool makes. The questions to ask: does it send usage telemetry and can you turn it off; if it has AI features, where do your schema and queries go; and what else does it connect to. FlexTable includes no usage analytics, its AI features use your own provider key and call the provider directly so prompts do not pass through FlexTable's servers, and its only outbound calls are update checks, downloads of the backup command-line tools, and license activation for a paid seat. You do not have to accept those specific answers, but you should be able to get equivalent ones for whatever tool holds your credentials.
The layers against the threats
Each layer answers a specific threat by a specific mechanism, and the value is in stacking them.
| Threat | Mechanism that addresses it |
|---|---|
| Passive eavesdropping on the network | A symmetric session key negotiated so it never crosses the wire (require and up) |
| Active man-in-the-middle with a forged certificate | Proof the server holds the private key a trusted CA vouched for, with hostname match (verify-full) |
| A self-signed or private-CA server you still want to verify | Supplying the CA certificate so the signature chain can be checked |
| The server accepting anyone with the password | The client proving key possession (mutual TLS) or a cloud identity (IAM) |
| The database being reachable from the internet | An encrypted SSH channel with port forwarding, so no database port is exposed |
| A long-lived password sitting in configs and backups | An HMAC-signed token that proves the secret without sending it and expires in minutes |
| Stored credentials read off your disk | Symmetric encryption at rest, with the key protected by file permissions and disk encryption |
| The client leaking your metadata or queries | No unsolicited outbound calls; AI sent directly to your own provider |
Three connections, worked through
The layers are easier to hold once you apply them. Here are three real connections and the setup each one calls for.
Local Postgres in Docker, for development. The database is on the same machine, reached over a private Docker network or localhost. No attacker sits on that path, there is nothing to store long-term, and the credentials are throwaway. disable for SSL, no tunnel, no IAM. Adding TLS and a bastion here is effort spent on threats that do not exist for this connection.
A startup's production Postgres on AWS RDS, reached from laptops. Traffic crosses the public internet, so both the passive and active attackers are live: verify-full, using the public CA that RDS's certificate already chains to, so no extra CA file is needed. The database should not be internet-facing, so put it in a private subnet behind a bastion and tunnel in, or use IAM authentication so there is no shared production password on every laptop, or both. And because those laptops now store either a key or cloud credentials, full-disk encryption on each one belongs in the setup from the start.
An enterprise on-prem SQL Server behind the corporate network. The certificate is signed by the company's internal CA, so verify-full needs that CA certificate supplied as ca_cert, otherwise verification fails and someone will be tempted to weaken it. If the security team issues client certificates, mutual TLS gives the server certificate-based proof of who is connecting. Access from outside the office goes through the corporate VPN or a bastion rather than an exposed port. Here the work is mostly in layer 2, because the trust is private and you have to hand the client the pieces to verify against.
Most connections sit near one of these three. The value of understanding the mechanisms is that you can look at any new connection, name which of the three attackers is present, and turn on the controls that address them, instead of enabling "SSL" and hoping it covered the rest.
FAQ
Why does encryption alone not make a connection secure?
Because the TLS handshake agrees on a session key with whoever answered the connection, it proves you share a secret with someone, not who that someone is. At the require level any certificate is accepted, so a man in the middle can negotiate a key with you and another with the real server and read everything. Proving identity takes certificate verification, the verify-full setting.
How does a certificate actually prove the server's identity?
The certificate binds the server's public key to its hostname, signed by a Certificate Authority your machine trusts. Your machine checks that signature with the CA's public key, then the server proves during the handshake that it holds the private key matching the certificate. A man in the middle can copy the public certificate but cannot use it without that private key, which never leaves the real server.
What is the real difference between verify-ca and verify-full?
verify-ca checks that the certificate chains to a trusted CA but not that it was issued for the host you dialed, so with a public CA in your trust store a valid certificate for another name can pass. verify-full also checks the hostname, closing that gap. Use verify-ca only with a private CA that signs nothing but your own servers, and verify-full everywhere else.
Why is an IAM token safer than a password if both are just strings you send?
The token is an HMAC signature computed over the request and a timestamp, using a key derived from your secret, and the secret itself is never sent. AWS recomputes and checks the signature. Because the timestamp is part of it, the token expires in about fifteen minutes, so a captured token cannot be replayed later, and there is no long-lived password stored anywhere to leak.
How safe are the passwords my client saves, and what decides it?
Saved secrets should be encrypted at rest, but that only moves the problem to the encryption key, so what decides safety is where the key lives. A key in a permission-locked file relies on your disk encryption and screen lock and does not stop an attacker already logged in as you; a key in the OS keychain or behind a master password is stronger against that case at the cost of convenience. Turn on full-disk encryption regardless, and prefer keys or short-lived tokens over stored passwords.
The connection settings described here (SSL modes, custom CA and client certificates, SSH tunnels, and RDS IAM) are in FlexTable, a free native client for SQL and NoSQL databases. Download it free.